Belated 2012 Transit of Venus report
Although most of the posts you see on this blog are about electronics, hence the name: Elabz, I can’t resist the urge to post about of my other hobbies here. I haven’t done it before in all of the three year history of this blog but from this point onward my visitors are going to have to endure a non-electronics post every once in a while.
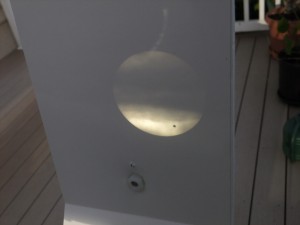
Astronomy is one of those not-yet-covered-here hobbies of mine and one of the rarest, easy to observe and just overall interesting astronomy events has just happened recently – the June 5, 2012 Transit of Venus. Since I had a camera handy, I had to snap some pictures and brag about it here 🙂 It was the very first time I saw an image of the Sun projected through optics and it was a rather illuminating experience, pun totally intended. Read the rest of this entry »
Pimp Your Chocolates with Arduino IDE and ATTiny13
Way too late for the Valentine’s Day yet maybe just in time for the Mother’s Day this year, I’d like to introduce an electronics project that came about as a result of my reluctance to throw away a nice looking empty box. This year Valentine’s Day came around just about the time I was playing with ATTiny13 micros – I was setting my Arduino IDE up to be able to write code for and burn the program into smaller 8-bit AVR MCUs like ATTiny13. Once the box of chocolates has been freed of its original content by my dear wife Tanya, on the way to the trash I turned it over and realised that there’s a lot of space available inside the plastic insert. I could easily tuck a battery, an MCU and a bunch of LEDs in there for a nice blinking light effect. Read the rest of this entry »
Eadweard Muybridge, zoetrope (zoopraxiscope) and … Google?
Arduino shrunk – how to use ATtiny13 with Arduino IDE
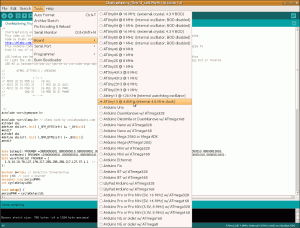
But you wouldn’t be using all of its great capabilities if you had to switch back to a text editor every time you needed to program a smaller Atmel chip, such as ATtiny13 for example. The engines behind the Arduino IDE – AVR-GCC compiler for C and C++ and avrdude – an in-system programming software for Atmel’s AVR series of micros – are already there and capable of coding for and programming the smaller chips, we just need to add a little bit of configuration magic to the Arduino IDE to be able to switch hardware freely without leaving your favorite Integrated Development Environment. Here is how: Read the rest of this entry »
Free your Arduino code from the Arduino board
Arduino as a system is a great development tool that makes it incredibly easy for a beginner to start programming microcontrollers and for a seasoned programmer to whip up a quick code in a hurry or keep a large embedded project organised when needed. I think it is very valuable for a user-friendly development environment to have a familiar setting to work in: a familiar IDE, set of libraries and a well-known hardware configuration, all of which Arduino provides splendidly.
However, the hardware – the Arduino boards, all 150,000 variations of 🙂 – may not necessarily work very well for every occasion. Depending on your application there may simply be no space for a 2″x2.5″ board. Additionally, there’s always the question of cost: an MCU chip and a couple of extra components that you actually need for the project may not always justify the cost of the whole Arduino board, voltage regulators, LEDs and all of the extra goodness it provides.
{adinserter Internal_left}I set out to figure out what it’s going to take to create an MCU development environment in which the code could be developed using all the familiar Arduino tools and then transferred to a stand-alone Atmel MCU so the Arduino board could be reused for future projects, along with all the above mentioned savings. My item of particular interest was to make all this work in Ubuntu Linux – my OS of choice for the last 4 years.
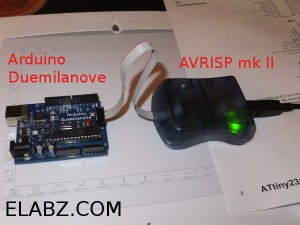
The quest has been helped in no small part by Newark – an electronic components distributor – who has generously provided an Atmel AVRISP MKII programmer – an essential tool for moving the code to stand-alone MCU chips. They carry a whole line of MCU development tools for your MCU family of choice and the AVRISP is one of the most economic ways to get you started programming Atmel chips. Check them out! Read the rest of this entry »
DVD-CNC. Laser cutter DIY Project. Concept.
This project came about as a result of my propensity to never throw away parts that were designed to or can be adapted to move electrons. I am also very interested in mechatronics and motor control in general and so it was all but certain that over time I would have accumulated enough of various discarded data storage devices because they are so cleverly combining parts of both mechanics and electronics. We live in world filled with discarded devices that only a few years ago were the stuff of science fiction. I always feel bad about the discarded yesterday’s technology and it gives me an extra kick to have it re-purposed for today’s needs. Read the rest of this entry »
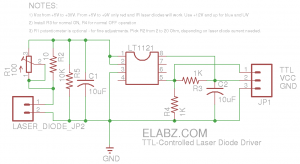
TTL-controlled Laser Diode Driver. Updated schematics.
During the course of my DIY laser cutter project I needed a laser diode driver that I could control with a CNC software, such as EMC2. I’ve already made an attempt to build one based on Linear Technology’s LT1121 voltage regulator with Enable input but the driver design that came out was not exactly successful 🙁
So, I took another stub at it … Read the rest of this entry »
World’s Smallest Stepper Motor with Arduino and EasyDriver
This little wonder of electromechanical engineering came from inside a laser diode sled of an HP CT10L Bluray drive I’ve opened some time ago. The device on the picture consists of several parts, all easily fitting on a dime coin: a bipolar stepper motor with lead screw, a linear stage, a lens, and even an end position sensor (I’ve yet to make use of the sensor though). The entire assembly is only 14mm x 9mm x 4mm. This post is about making this tiny motor move. Keep reading! Read the rest of this entry »
Upgrading a DVD spindle three phase BLDC motor
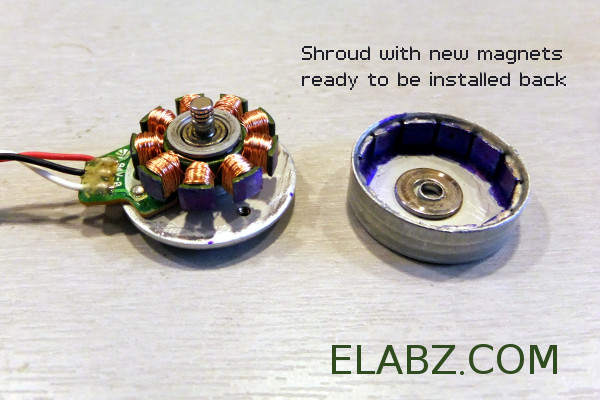
Shroud (bell) with new magnets ready to be put back on the stator
Brushless DC (BLDC) motor with Arduino. Part 3 – The Stroboscope Project
{adinserter Internal_left}It has been all dry theory in the Brushless DC (BLDC) motor with Arduino series up to this point. This is where it gets to be more fun. If you’ve just arrived, please check out the previous two installments:
- Driving a three-phase brushless DC motor with Arduino – Part 1. Theory
- Brushless DC (BLDC) motor with Arduino – Part 2. Circuit and Software
In this final part of the trilogy I am describing the hardware part of the stroboscope project and the making of the zoetrope animations themselves, in hopes that my visitors can take this further and come up with their own animations, which I would absolutely love to see. More details below! Read the rest of this entry »

