Arduino Nano V3.0 – MCU Development Made Smaller
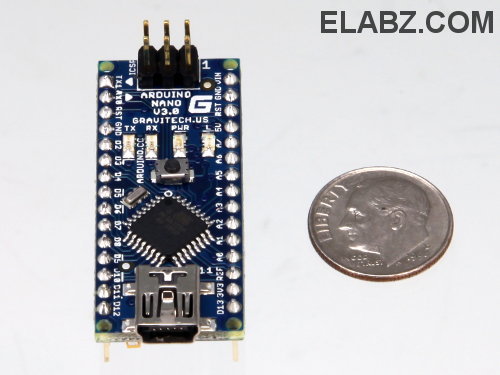
Arduino Nano V3.0 board and a dime coin – a size comparizon
{adinserter Internal_left}I recently had an opportunity to add a new tool to my MCU development toolbox – an Arduino Nano V3.0. Newark – an electronic components distributor – was kind enough to send this little board for review. Arduino Nano is but one of their range of Arduino boards and shields and its tiny size which does not sacrifice performance or capabilities made it especially attractive to me. I have several Arduino-based projects lined up that could use smaller size boards and, based on the results I got so far, the Nano will definitely be a part of one of them in the future.
Arduino Nano is designed and produced by Gravitech and its version 3.0 is based on ATmega328 MCU which makes it pretty much analogous to the more common Arduino Duemilanove, only in a much smaller package. See the picture below for size comparison.
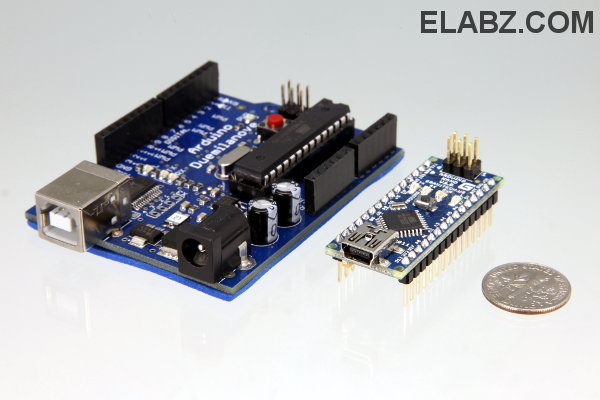
Arduino Nano and Arduino Duemilanove – see the difference
Due to the obvious difference in shape and size, the Nano does away with the use of standard Arduino shields. However, I personally don’t see it as a disadvantage. I do realize that there’s a benefit of speeding up development of a project when using a ready-made shield but I always find myself building my own – every time I look at a ready-made shield, it either has too many components, lacks proper connectors or uses a supporting IC that’s different from what I’m interested in working with. I don’t want to belittle the efforts of people that design and produce the amazing variety of standard-size Arduino shields for all types of projects and applications. I just want to make a point that in some cases a standard-size shield can be a limiting factor and there should be alternatives, which is where Arduino Nano shines. For example, in cases where you have a limited vertical clearance, you may want to spread your components horizontally rather than stack the shields (see the picture below).
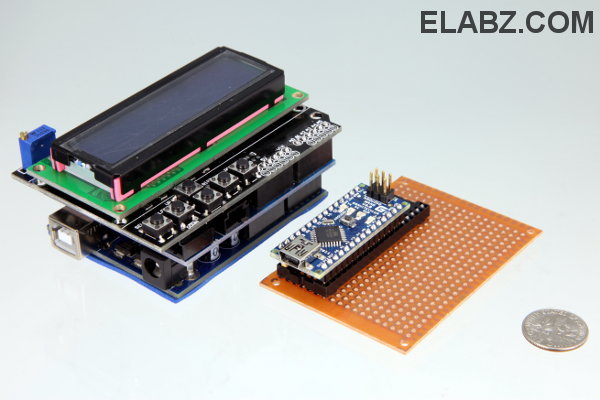
Arduino-Stacking shields vs spreading components on the development board
Please note that the Nano on the picture above is not in an actual circuit and therefore a circuit that’s functionally similar to the stack of the shields on the left (Arduino+Sensor Shield+LCD Shield) will obviously require much larger board space but it will be more flat – approx. 0.75″ (19mm) high vs. 1.75″ (44mm) high for the stack of Arduino plus two shields.
Another difference you need to keep in mind developing with Nano is that it lacks the round DC power jack and receives power either through the Mini-B USB connector or an unregulated 6-20V DC power applied to VIN pin (pin 30) or from an external regulated 5V supply via pin 27 – the board picks the highest voltage source. Again, given how ubiquitous regulated 5V power supplies with USB-A form factor output are (see picture below), the lack of traditional round DC jack does not seem to be such a big deal. Just make sure you don’t use Motorola’s cell phone power supplies – although they are 5V and the connector is Mini-B USB, the pinout is different (Motorola just had to be different…)
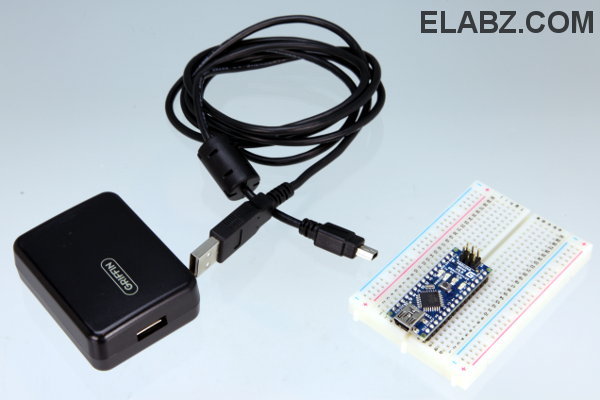
Use a USB-form-factor 5V power supply with Arduino Nano
If some of your components require 3.3V supply, you can get it from the Nano. But keep in mind that the source is only available when the Nano is powered via USB – for 3.3V supply the output of the FT232RL IC is used (the IC is mounted on the bottom) and it’s only active when USB is plugged in.
Despite its small size, the I/O capabilities of Arduino Nano are impressive: you have all the I/O you’re used to on the larger Arduino Duemilanove and, surprisingly, two more analog inputs (Nano has 30 pins whereas Duemilanove – 28) for the total of 8 analog inputs which can come handy if your project can use more sensors.
The overall design of the board is breadboard-friendly (see picture below) with 0.1″ spaced DIP. Although 30-pin IC sockets are not that common, if you want to use the board in a soldered development board, a more common 40-pin IC socket can be easily adapted to receive the Nano.
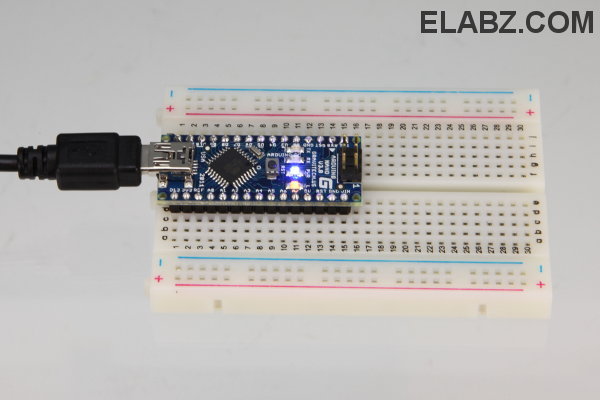
Arduino Nano in a breadboard.
You need no extra components to start blinking some LEDs with an Arduino Nano. Note that on the picture above the breadboard was not strictly needed. I just used it to prevent the tiny board from flying around my desk.
As far as the software is concerned – arguably the most appealing feature of Arduino to the hobbyists like myself – there is absolutely no change required to switch from Duemilanove to Nano. The Arduino Software (I’m using the 64-bit Linux version 0022 ) development IDE recognized the board immediately and within less than a minute I had a sample sketch loaded and executed.
All in all, I am very impressed by the Arduino Nano board. It is very user-friendly, compatible with all the Arduino code I’ve accumulated so far and I personally like its form factor even more than that of the more traditional Arduino Duemilanove.
Be sure to check out the Arduino Nano V3.0 manual and happy developing with this great tiny MCU board!
